
Navigating Navigation Part 3: Planning a trail route that works in the real world
- Aug 27
- 3 min read
The information on the map and beyond that makes a good ride.

So, you’ve got your mapping app, your navigation device is set up on your bike and you’re ready to plan a route.
What the map reveals
Familiarise yourself with the map so that you can identify features like rivers, electricity pylon lines, woodland or marsh, and different types of rights of way. Many mapping apps do not have motorbike-specific features, and you don’t want to inadvertently plan your route using footpaths, bridleways or restricted byways!
You can identify some other potential obstacles and difficulties from the map – steep inclines, water crossings, railway crossings, complex road junctions and places where the navigation may be difficult, such as the meeting of multiple trails, or where a footpath splits off from a byway.
As you look around the map for the area you want to ride in, you can identify byways and see how you might be able to join them up. This is the time to check the legality of the routes. You’ll need to check the status of the trails on your route on the Definitive Map for the area you’re riding in, against the List of Streets and for any TROs - and if any uncertainty remains, contact the local council’s Rights of Way department for assistance.
Information gathering for navigating
If you’re planning a route in an unfamiliar area, you may also need to find out more about the lanes you’re considering. Think about the type of ride you are looking for. Getting halfway up a steep lane on an adventure bike, only to discover that it’s got a series of tricky rock steps that you’re not comfortable tackling, can put you in a difficult spot, and it may be difficult to turn around safely. On the day, if in doubt, walk a section on foot before you ride into it.
A search of the internet can reveal videos or discussions that give you an idea of what to expect. Seeking local expertise online can also be helpful – joining a forum or internet group for trail riding in the area allows you to ask for more information.
There are other practicalities to consider when planning your route. Make sure you plan in fuel stops that match the range of the bikes that will be with you. Look for possible coffee, lunch or toilet stops. If you’re transporting bikes to the start point, you’ll need parking for a van or trailer – don’t forget to check for height limits and parking charges!

Plan for a safe and enjoyable ride
You also need to be aware of how long your route is. Be wary of riding too late in the day when it will be getting dark – especially in winter, when daylight hours are short. Take into account that things like bike adjustments, wrong turns and lunch stops can add up to a significant amount of time. If you end up short of time, be prepared to cut the route short rather than rush to finish it.
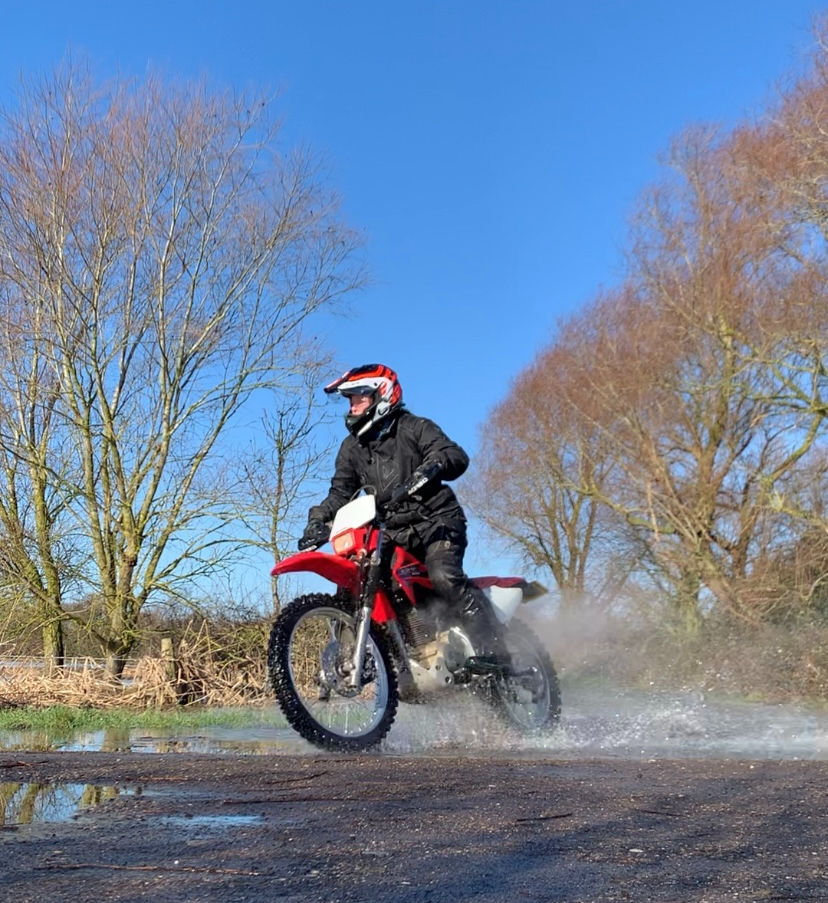
Think about how different weather conditions could affect your route. In the wet, rocks, chalk, heavy soils and grassland become slippery, and mountainous or exposed areas will be a different proposition in winter or foul weather. Heavy rain may flood fords and low-lying lanes and higher altitudes retain snow much longer than the lowlands.

Consider where you might need to change your route on the day. This could be to bypass a tricky section, avoid areas according to weather conditions, or shorten the ride if you’re running out of energy or daylight.
There’s a lot to think about when you really look into what makes a day’s riding go smoothly, and what might crop up during your ride. Planning well before you put a wheel to the trail lets you identify avoidable risks and helps keep you shiny side up on the day.
In part 4 we’ll look at what happens when the plan meets reality and it’s time to actually get out and ride your route for the first time.

Comments